The 1980's Columbus or Reynolds Time Trial bike Compared to a 2013 Carbon Race Machine. Use any of the tools or tips outlined below, the way they did in the 80's, on your modern carbon time trial bike and you'll void the warranty then break the machine rendering it useless.
On a 1980's lightweight steel time trial bike however, employ these professional race proven techniques and you'll not only be able to race the bike, you'll probably end up on the podium. If that wasn't enough, to boot, afterwards the frame builder will probably thank your for helping improve his "experiment in steel", later inviting you over to his house for a few cartons of beer to celebrate. THE 1980's STEEL-ALLOY TIME TRIAL BIKE Race Check List for going racing in the 1980's.
TOOL CHECK LIST 1. Large Heavy Weighted Hammer 2. Over-sized Flat Blade Screwdriver 3. Hacksaw 4. Heavy Duty Steel Vise, best used with bare vise grip for maximum grip, providing that authentic backyard-shed look to your alloy components 5. Drill 6. Steel capped work boots 7. Singer sewing machine oil or similar lightweight oil 8. Pliers in various sizes
In the quest for the shortest wheel base possible, your frame builder crimped, lets call them - "wheel furrows" in a size a ploughman and his draft horse would be proud of. The constructeur then aimed to provide the most minimal wheel to frame clearance possible. At a race, to rectify resulting frame problems, use tools #1 and #2, your large heavy weighted hammer combined with your over-sized flat blade screwdriver.Used for bashing and denting thin, technologically advanced tubing like columbus slx. This is particularly effective to get you out of a tight spot on the start line of a race. For example, when you've glued on those new race tires the night before, then forgot to check the clearance in your bike when pumped up to race pressure. These new tires which come with the recommendation that they are faster than anything you've ever tried, just happen to have a 1mm wider bag than the ones you normally use, rendering them useless in your experimental time trial machine, built with .2 of a micron clearance all round. Remember they are only useless though, without a hammer and your over-sized flat bladed screwdriver.
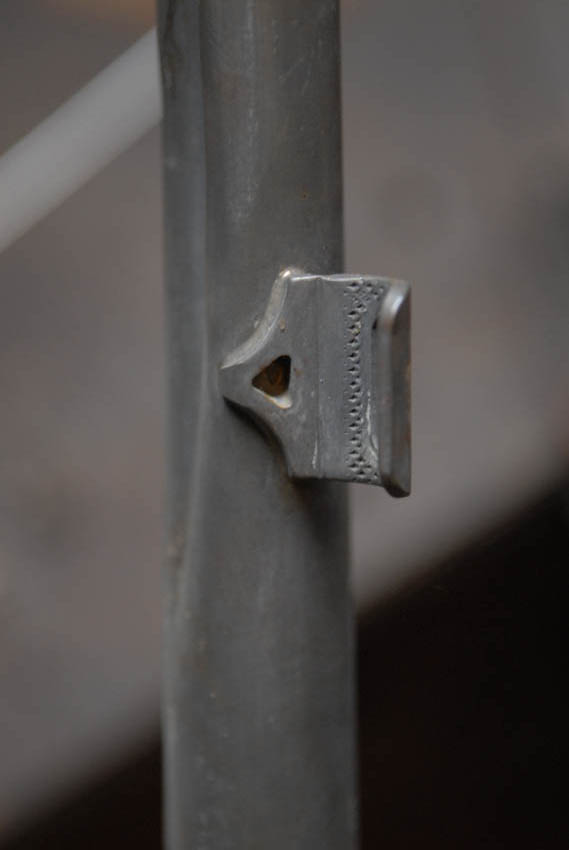
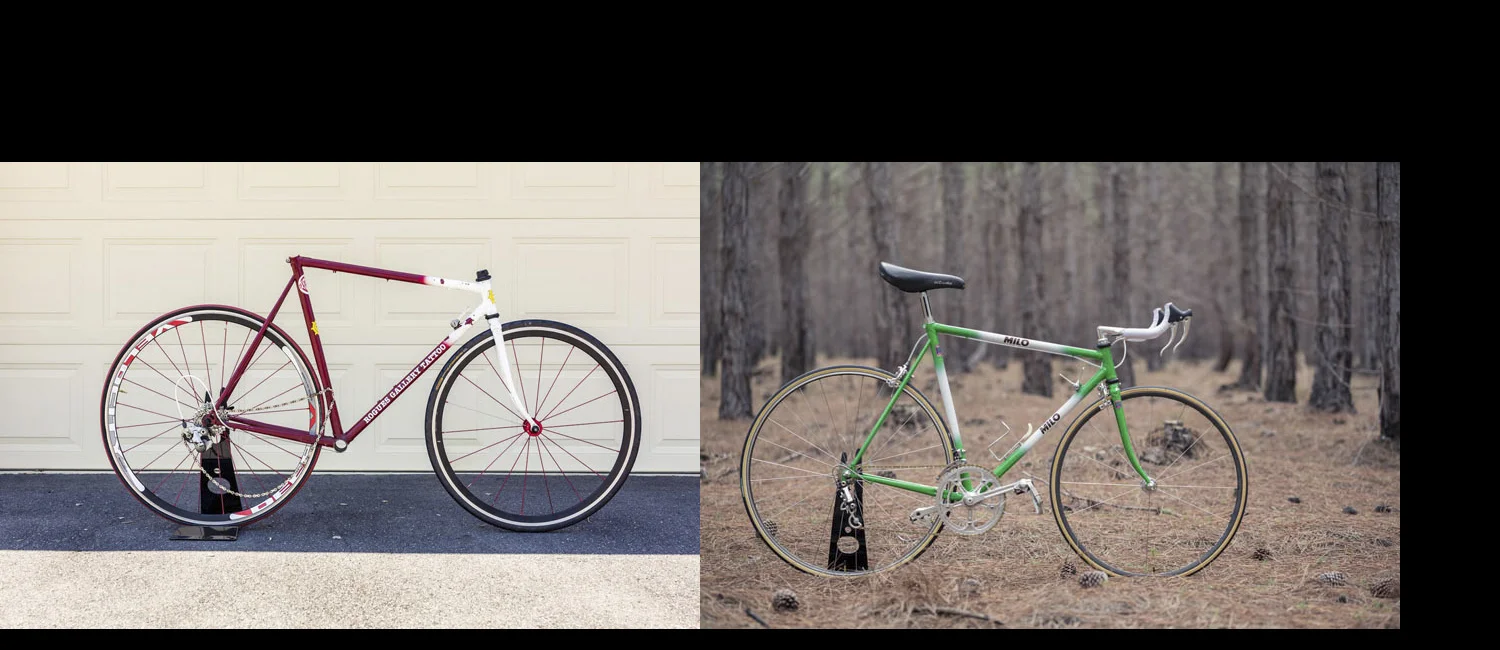
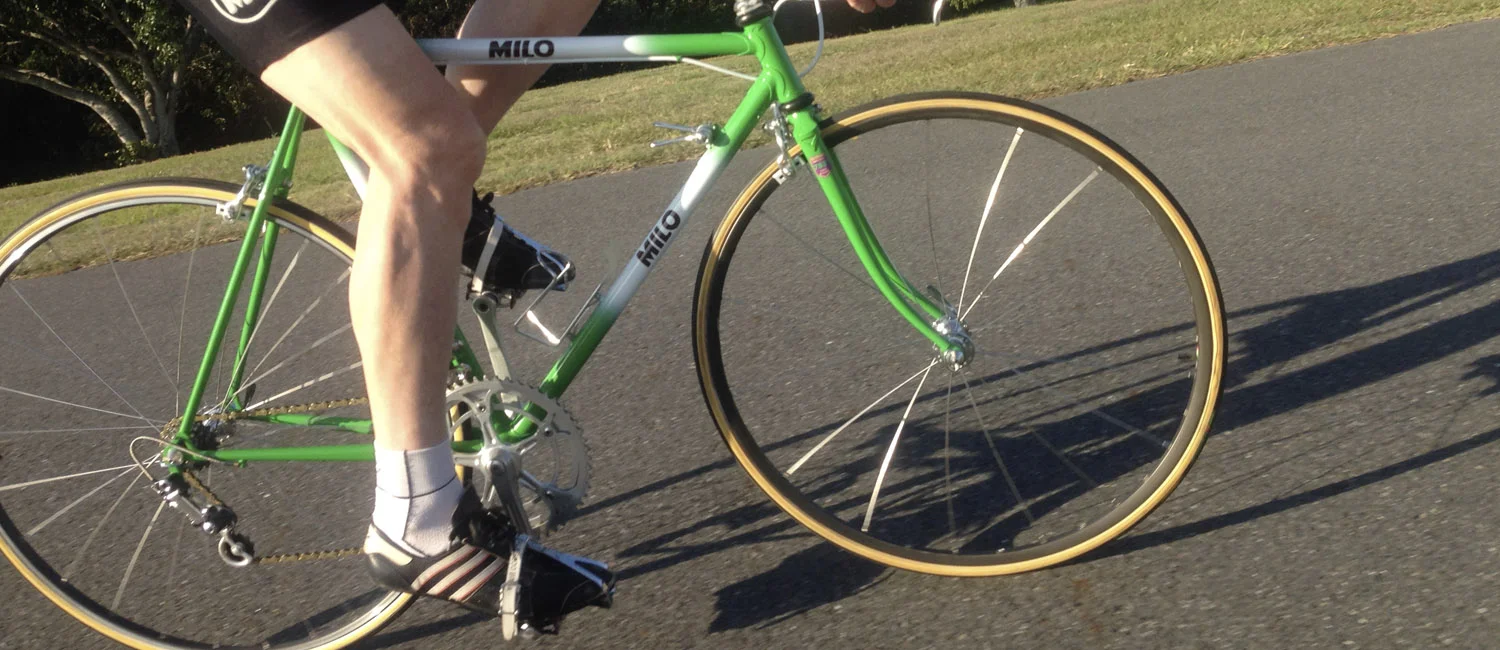
Kenevans Milo bike built for the QAS, bashed hard with hammers and large flat bladed screwdrivers, while fitting rear wheels into the tight clearance frame.
# 3 Use a hacksaw to cut away any unwanted handlebar ends, depending on what year, turn upside down and make into classic cow-horn look. Also use the hacksaw to remove unwanted seat post length. While you're at it, make sure to remove any unnecessary headset components, stem material and fork steerer. The aim here, if possible to drop it 'till your knuckles can scrape the tarmac, or at the very least get some friction burns from your front tire.
#4 and #5 Save weight option TWO. Usually performed in an old back yard shed, using an old heavy duty steel vise, that your grandfather once owned and used to perform experiments in metal during the cold war years, of which older family members will only say about that period, "he used to mutter and grumble under his breath a lot about the 'bloody reds' followed by mutter mutter, 'under the bed'." Method disassemble the bike, place each lightweight alloy component in jaws of vise - then use the drill to drill out all unwanted heavy metal, that was only going to slow you down anyway. Drill holes wherever you can find a space to make one. Re-assemble the bike then on race day bluff your way past the commissaire's by submitting your training bike for scrutiny. It helps then to have lots of "interested parties" crowd around you on the start line though. Next hope like hell the shortened seat post or now as thin as a pie dish - 65t chainring doesn't brake under that awesome power you've recently developed "in the gym".
#6 Make sure someone on your crew has a pair of steel capped work-boots. If you could only choose one tool, this would be the one, useful for anything even fetching water from tepid streams near a race start. Also required for jobs like kicking and bending wheels that won't comply with new trends in frame building, or that wheel with three broken spokes - a good kick with the boot will fix most problems. Make sure you have a good "boot operator" though, preferably one who understands the intricacies of professional bicycle mechanics, or else a misplaced kick could leave you worse off than when you started.
#7 Remove all bearings from BB, and hubs, replace grease with the thinnest lightweight oil you can find. Hope like fuck it doesn't rain too much. Remember to replace with grease if you plan to train on this gear again during the week.

Tool #8 The pliers, similar to the heavy duty steel capped work boots, in that they can be used for just about anything. Pliers also double as a lightweight hammer, round off any nut. If a large jawed pair of pliers can be found, they can be used to help coax lightweight tubing into conforming to many mangled shapes. Be artistic here. WARNING if you combine the pliers with the giant screwdriver, don't use a tire inflated to 200 psi as a leverage point ........ The complete powers of the flat bladed screwdriver are unlocked in this pliers / screwdriver combo, creating a comprehensive kit for crimping just about any expensive and lightweight tube from Columbus or Reynolds. Pliers can also be thrown at things or used to cut out unwanted and heavy spokes from wheels that obviously have too many. Just use pliers to rip out those nipples and eyelets, (it's quicker than taking off tires with all that messy rim cement) or the rattles will drive you spare.
These eight tools are all you'll need to go racing, anything more, like those tools with Campagnolo written on them are just plain overkill. Plus the uses described here are just a basic guide, ingenious mechanics and riders - you all know how adaptable this took kit really is!
SOME INNOVATIONS FOR YOUR CRIMPED, NO CLEARANCE, SHORT WHEEL BASE, EXPERIMENT IN STEEL TIME TRIAL BIKE
Save weight - Only tape the part of the handlebars that your hands rest on, or none at all if you're not a sissy. Don't forget to thoroughly drill holes in what's left of your handlebars, after all it's alloy and you'll drill through it like butter.

PMP Cranks on the TT bike raced by Ian Cammish.
Get hold of a set of those PMP cranks, bent at right angles, because they "have extra leverage because they are longer", and "eliminate dead spots". If you're good you'll track down the ones with not one extra crank arm section but two, forming a nice rectangle and adding extra weight, after you already drilled everything else to smitherines.
Look good with an aero biddon. If you're really hard then don't use one.
Next post a real Italian Time Trial bike from the early 80's, it's a twisted masterpiece of the era.

Bent, bashed and ready to race, the Kenevans TTT bike by Mal Macpherson from 1986, one of the first ever Teams Time Trial bikes used in competition in Australia in early 1986, by the Queensland Milo squad. This image is of the "repaired" frame while undergoing recent restoration. This frame is infamously known for being brutalised on the start line at the 1986 Commonwealth Games, for similar reasons to those outlined here, using similar tools. Other Australian road teams time trial road bikes built earlier in the 80's were by Geoff Scott. Geoff Scott custom frame builder of Gefsco and Clamont frames had built Aussie low pro - funny bikes as early as 1979 when Alex Fulcher brought back photographs of East German pursuit funny bikes.
More Bikes


The history of Zurich frame builder Leo Estermann.